Google Slides is a great tool to out together quick presentations but its formatting and editing options are quite limited.
For example, it’s not immediately clear how to wrap text around images in Google Slides. Or how to re-arrange text elements to make an image your text background.
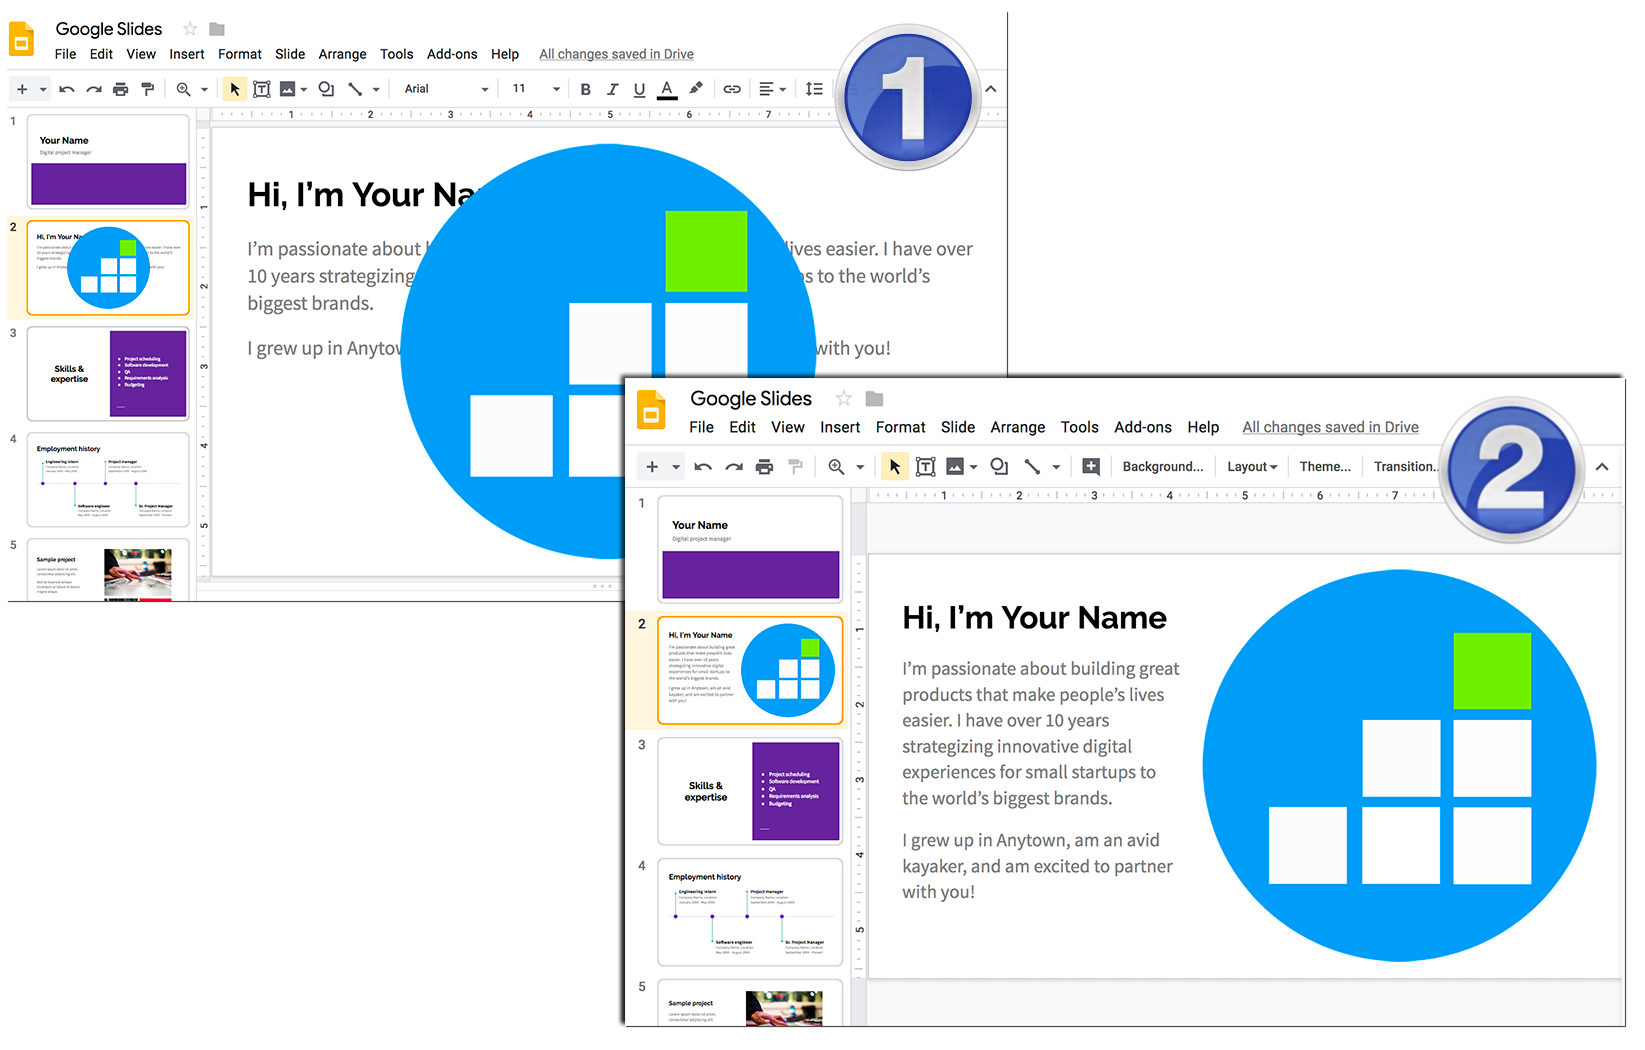
Here’s how to wrap text around an image in Google Slides:
How to Wrap Text in Google Slides
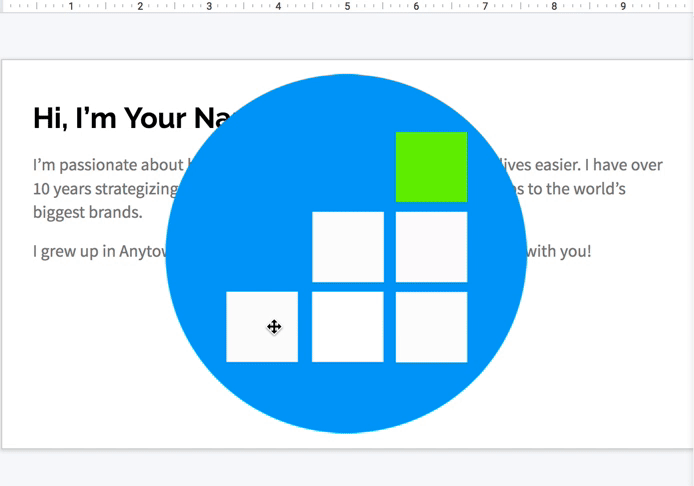
- Add your image to the slide (The image will be added in the center of your slide on top of everything else)
- Re-position and resize the image and text boxes to make the text wrap around the image:

Here’s the GIF instruction of what I just did there:
How to Add Images to Google Slides
To add an image to a slide inside Google Drive:
- Click Insert in the main menu bar
- Select “Image” in the drop down
- Choose one of the options
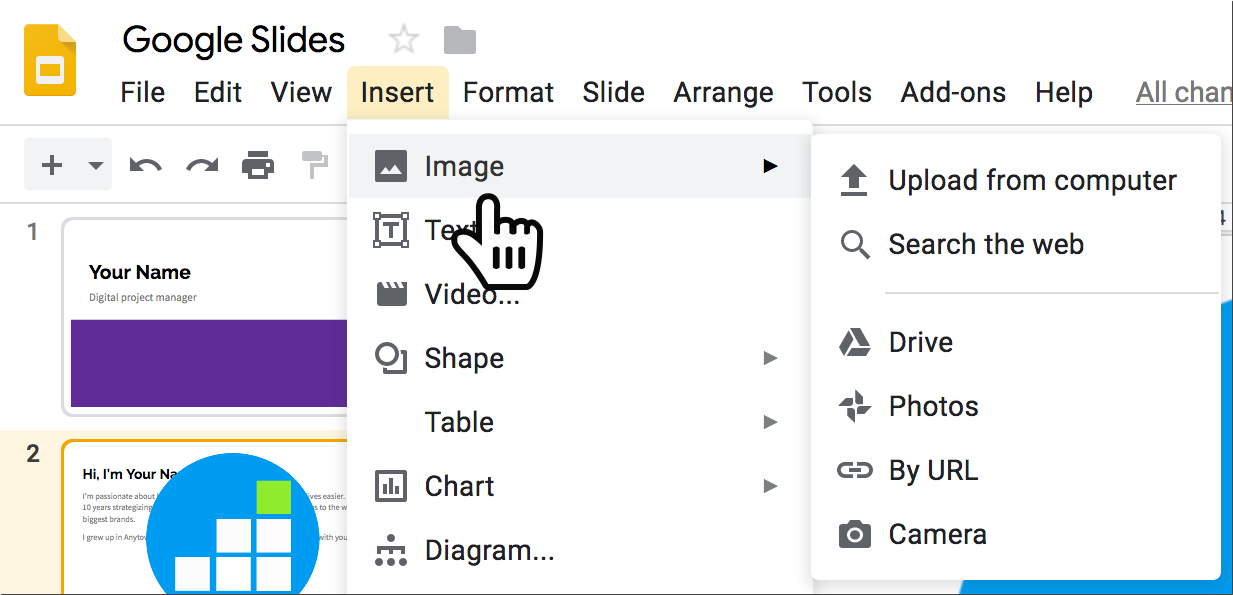
From there you can:
- Choose your image from the computer to upload and add to your deck
- Use an image using Google (the suggested images are all labeled free to use)
- Choose an image from your existing Google Drive collection
- Add an image from your Google Photos
- Take a picture using your web camera and instantly add it to your deck
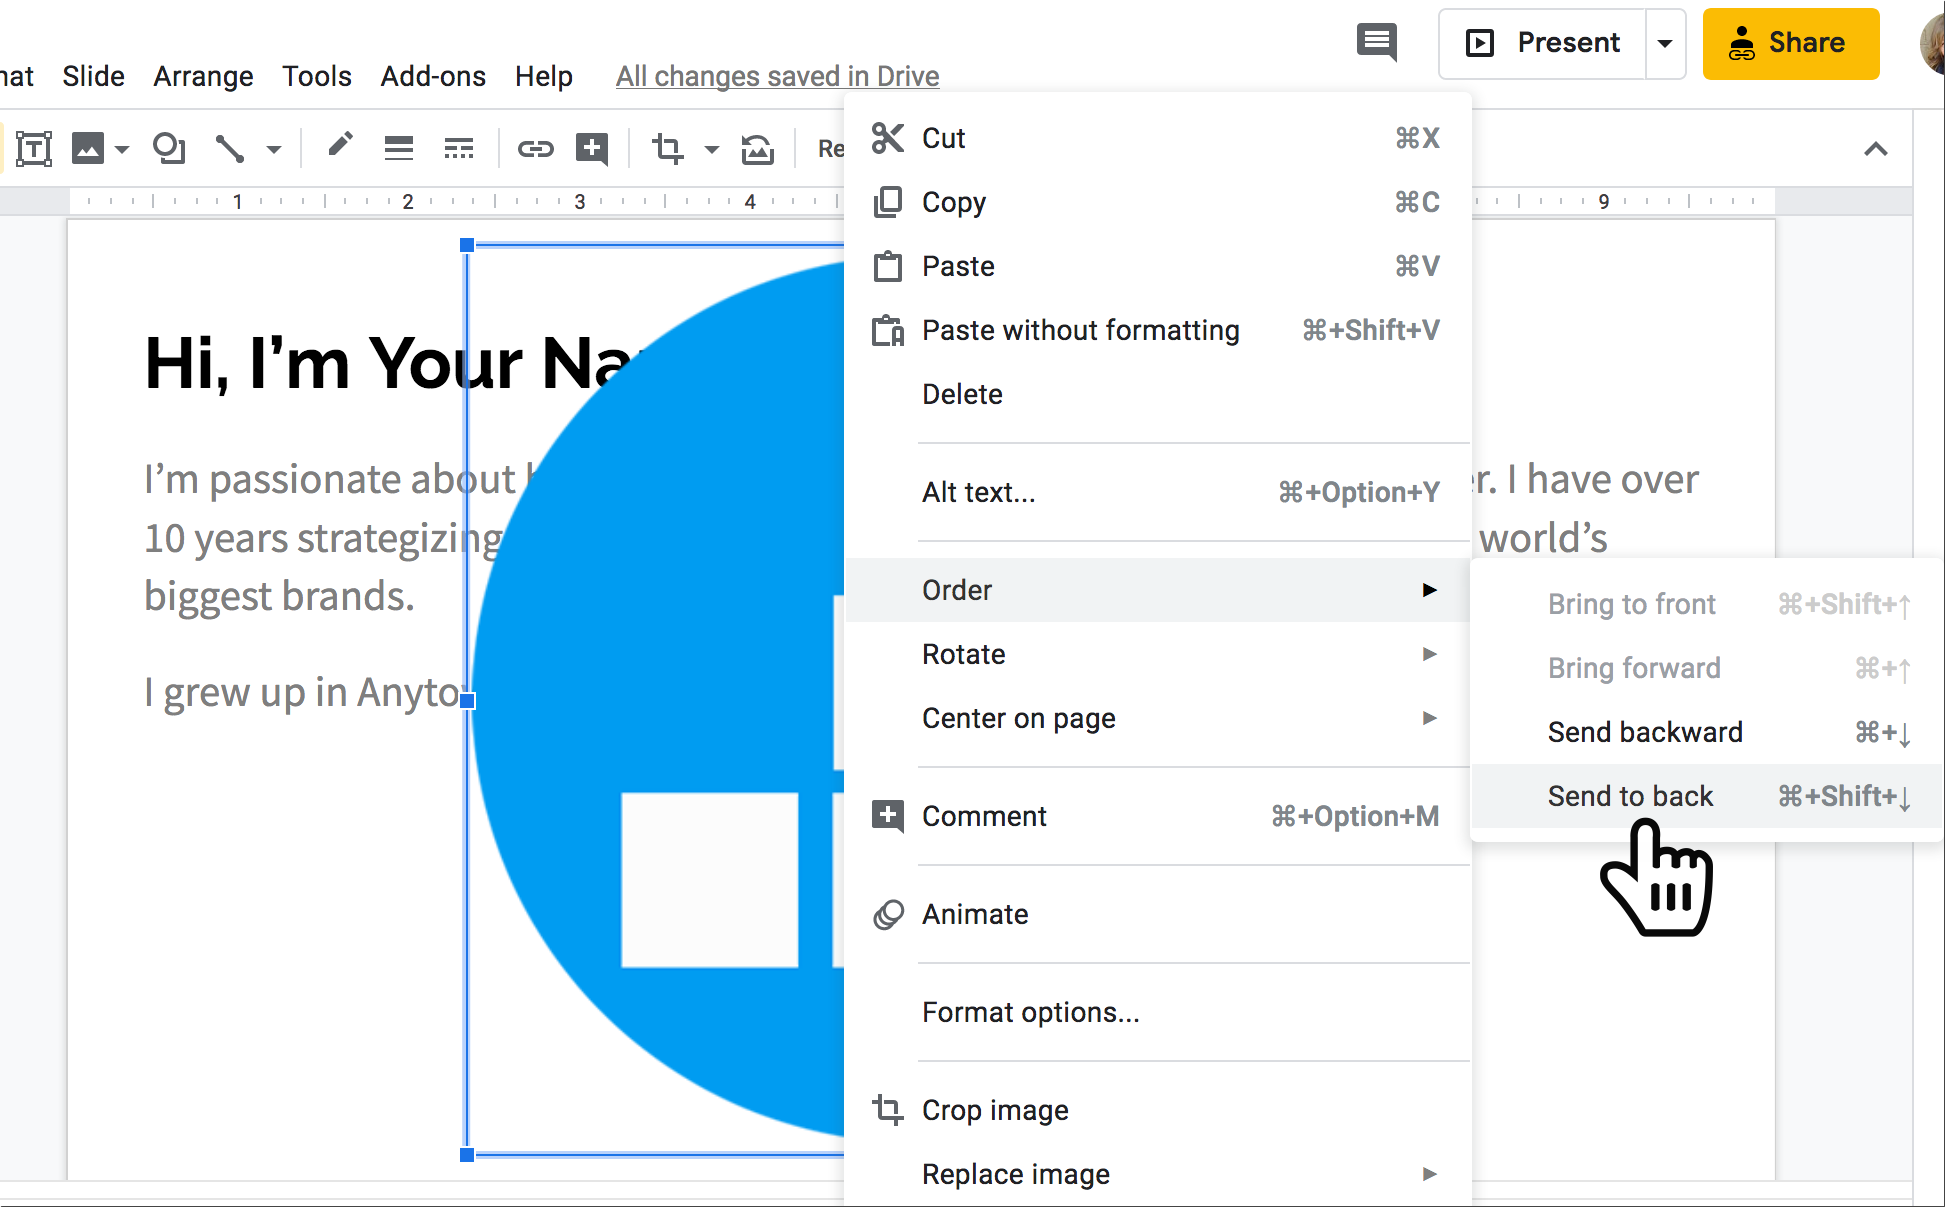
How to Put an Image Behind Text in Google Slides?
To put an image behind text in Google Slides:
- Click the image to select it
- Right click on the image to see the context menu
- Select “Order”
- Click “Send to back”
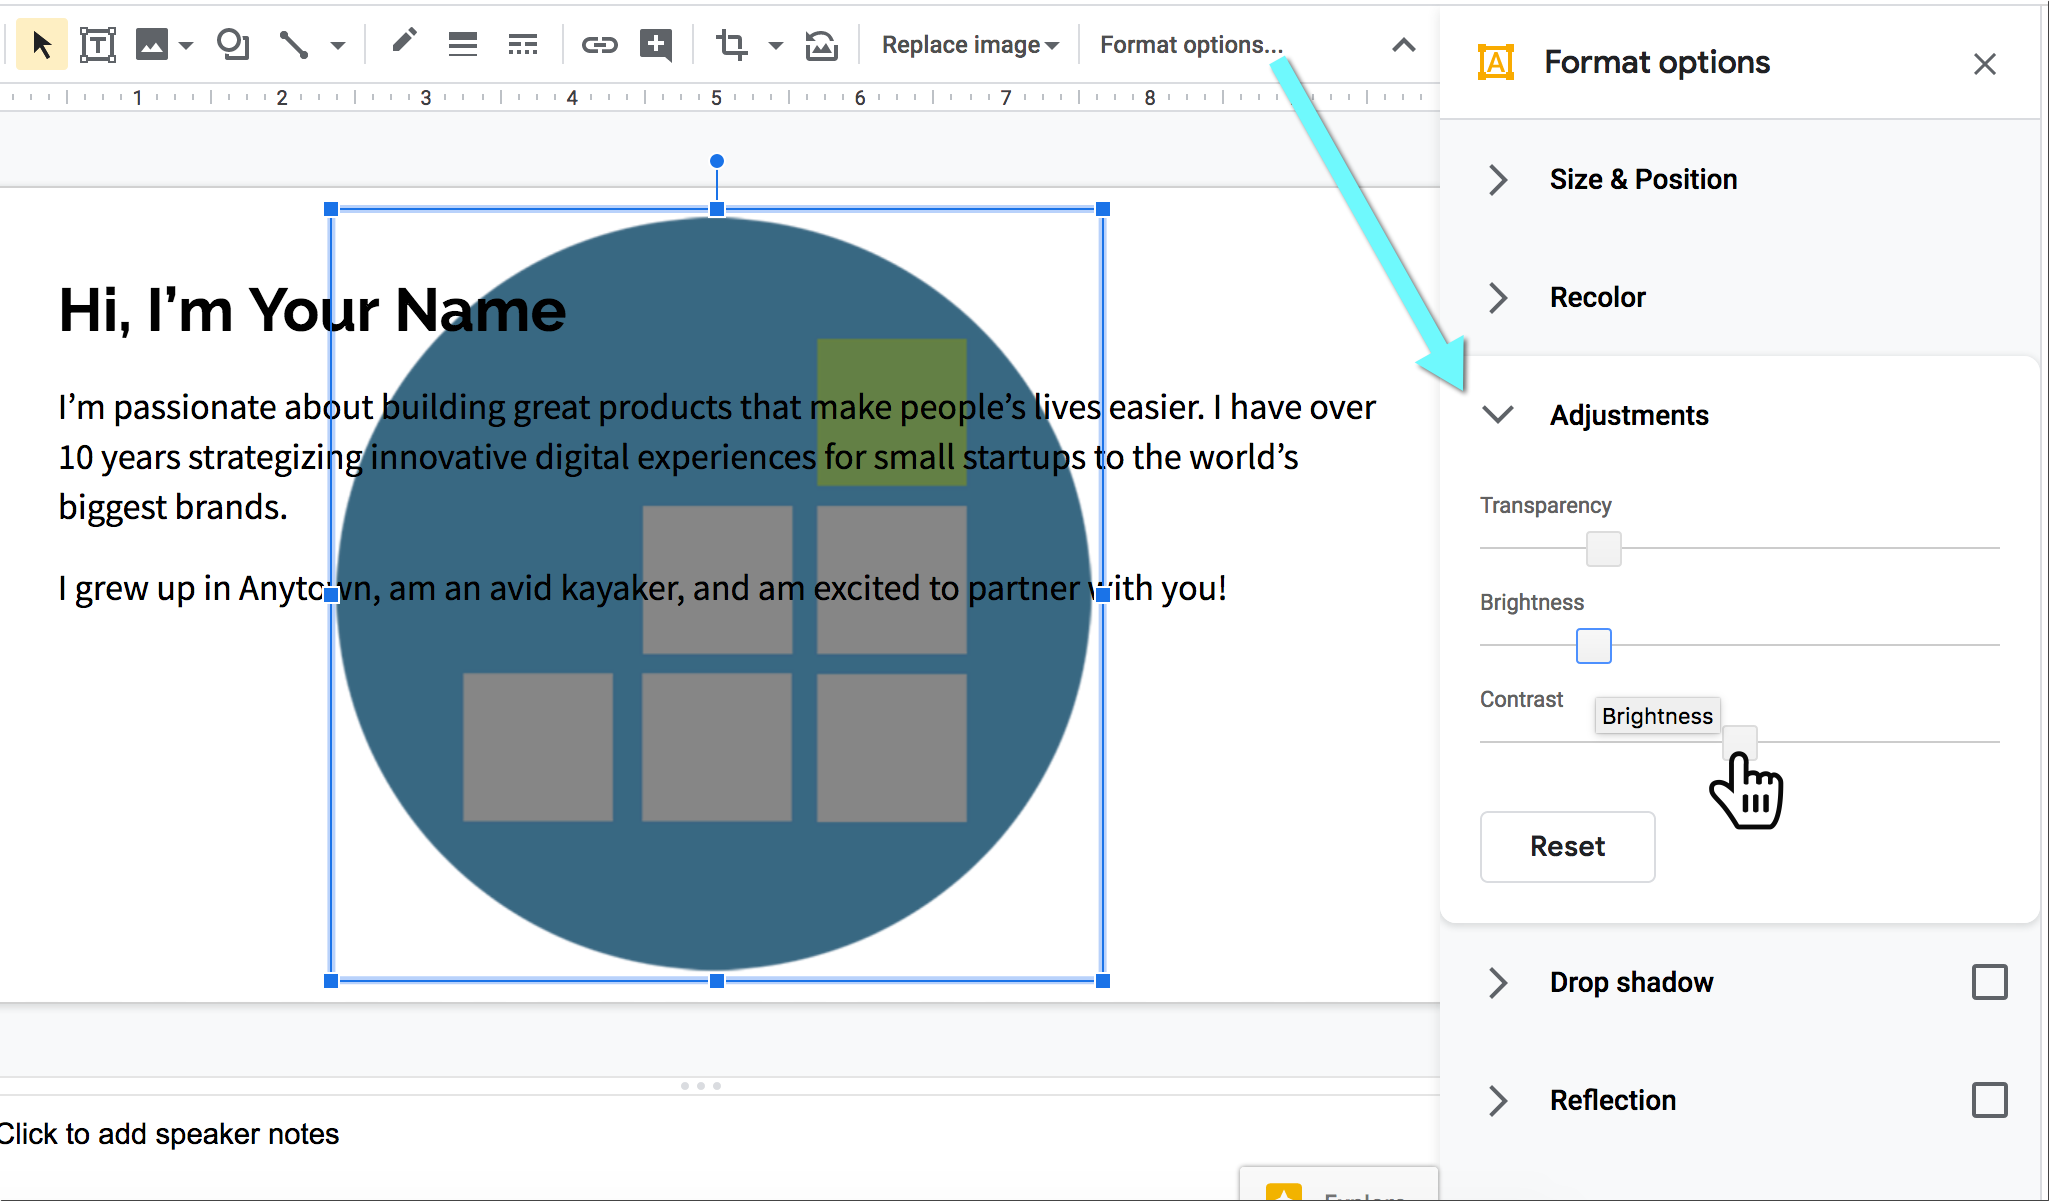
From there you can play with the image settings to make the text more visible:
- Click image to select it
- Click “Format options”
- Select “Adjustments”
- Play with Transparency (i.e. opacity), Brightness and Contrast options until you are happy with the result:
How to Use “Insert Image” & Wordwrap Option in Google Slides
Google Slides is one of the easiest way to put together quick presentations and it’s a good idea to use the tool:
- Your team needs to collaborate on a deck: Everyone needs a Google account to access your presentation and edit it collaboratively
- You need a document in multiple formats: You can download Google documents as Microsoft Word Powerpoint, PDF document, PNG / JPG image, Scalable Vector Graphics)
- Obviously, you can use Google Apps for education. Google Sheets, Google Forms, and Google Docs are so intuitive and easy to use. Every student can get around creating documents online, editing text, customizing images, formatting and modifying files using Google Apps as they provide rich functionality for free.
- Everyone can use Google Slides for collaboration. They can use drawing tools to create a flow chart, a timeline, a workflow, and more.
- Put together editable templates for your kids, students or collaborators to access and edit easily.
Takeaways: How to Wrap Text Around an Image in Google Docs?
Time needed: 2 minutes
How to Wrap Text Around an Image in Google Docs?
- Add an image to your slide
- Drag-and-drop the slide elements (i.e. the image and the textbox) to put text around an image
Leave a Reply